
MFA Detailed Instructions
For a more general guide, use MFA: Getting Started. For additional information, consult the MFA: FAQs
STEP 1 of 3 – CHOOSE YOUR MFA PREFERRED OPTION
Decide which will be your primary and which will be your backup MFA authentication preference:
A. APP NOTIFICATION/CODE (We highly recommend using one of these methods).
You have two options:
Receive notifications for authentication – pushes/sends a code to the Microsoft Authenticator app on your mobile device. Select Approve to authenticate.
OR
Use authentication code – the app generates a new code every 30 seconds, which you will enter for authentication. On the MFA sign-in screen, enter the code that is currently displayed in your mobile app.
B. TEXT MESSAGE:
A verification code will be sent to your phone in a text message. Enter the code provided onto the MFA sign-in screen.
For video instructions on setting up text messaging as your preferred option, navigate here.
C. PHONE CALL:
You will receive an automated call to the phone number provided. Answer the call and press # on the phone's keypad for authentication. This can be a mobile phone or landline.
For video instructions on setting up a phone call as your preferred option, navigate here.
STEP 2 of 3 - SET YOUR PREFERRED MFA OPTION
Note: We strongly recommend that you set up more than one option to enable the "Sign in another way" feature in case your device is lost, stolen, or replaced. Users who do not set up a second option will need to call the ITS Service Desk if replacing their device.
Open the MFA preferences page to be directed to the page shown below.
A. APP NOTIFICATION/CODE (we highly recommend using one of these methods)
1. On your mobile device, install the free Microsoft Authenticator app from the App Store (iOS) or Google Play Store (Android), then select Next.

2. The page below will be displayed.
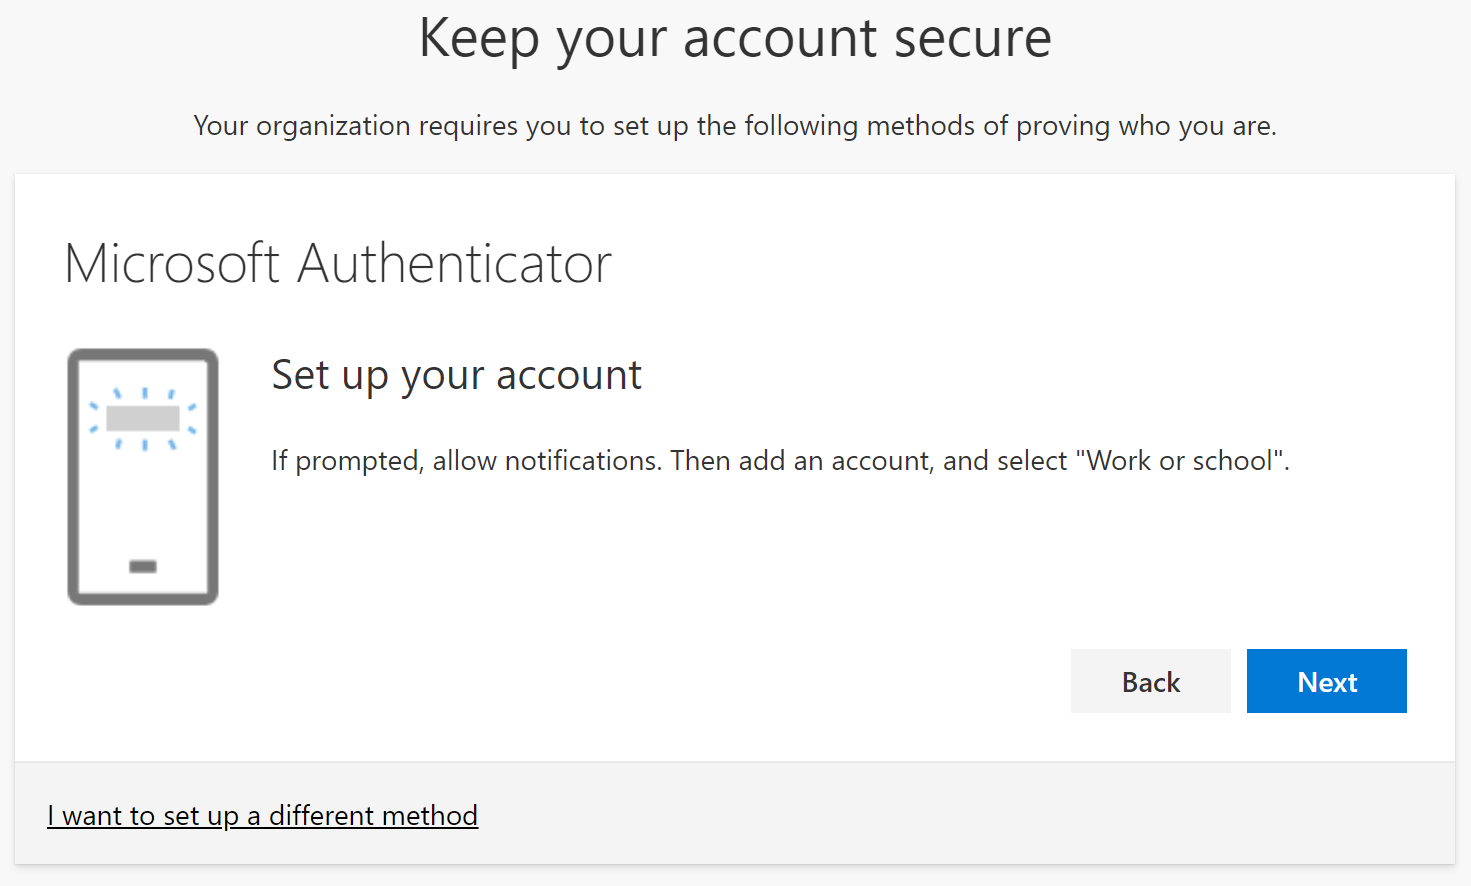
3. Open the Microsoft Authenticator app on your mobile device. Select Allow to receive notifications.

4. Select the plus sign (top right), or select Add account.

5. Select the Work or school account option.

6. The QR code scanner will launch within the app. The first time you open the app, select OK/ALLOW to use your mobile device's camera to scan the QR code.

7. Your mobile device's screen will look similar to the screen shown below.

8. On your computer, select Next. A page similar to the example shown below will be displayed. Use your mobile device to scan the personalized QR code displayed on your computer screen, then select Next.

9. Once the QR code is scanned, approve the notification sent to your phone.
10. Select Next to finish the setup.
B. TEXT (to a mobile device that accepts text messages)
1. Select "I want to set up a different method" (in the lower left), then choose Phone from the drop-down menu.
- Select Text me a code
- Choose your country/region
- Enter your mobile phone number
- Select Next
2. Follow the instructions provided on the screen, then select Next.
3. select Done after the verification is complete.
C. PHONE CALL
Note: The Office phone option is not available at this time for authentication.
1. Select "I want to set up a different method" (in the lower left), then choose Phone from the drop-down menu.
- Select Call me
- Choose your country/region
- Enter your phone number (this can be a cellphone or landline)
- Select Next
2. Follow the instructions provided on the screen, then select Done after the verification is complete.
STEP 3 of 3 - MANAGE YOUR ACCOUNT
If you need to make changes to your MFA preferences in the future (e.g. add/change preferred options, add/remove a new phone number or device), simply return to the MFA preferences page.
For a more general guide, use MFA: Getting Started. For additional information, consult the MFA: FAQs
STEP 1 of 3 – CHOOSE YOUR MFA PREFERRED OPTION
Decide which will be your primary and which will be your backup MFA authentication preference:
A. APP NOTIFICATION/CODE (We highly recommend using one of these methods).
You have two options:
Receive notifications for authentication – pushes/sends a code to the Microsoft Authenticator app on your mobile device. Select Approve to authenticate.
OR
Use authentication code – the app generates a new code every 30 seconds, which you will enter for authentication. On the MFA sign-in screen, enter the code that is currently displayed in your mobile app.
B. TEXT MESSAGE:
A verification code will be sent to your phone in a text message. Enter the code provided onto the MFA sign-in screen.
For video instructions on setting up text messaging as your preferred option, navigate here.
C. PHONE CALL:
You will receive an automated call to the phone number provided. Answer the call and press # on the phone's keypad for authentication. This can be a mobile phone or landline.
For video instructions on setting up a phone call as your preferred option, navigate here.
STEP 2 of 3 - SET YOUR PREFERRED MFA OPTION
Note: We strongly recommend that you set up more than one option to enable the "Sign in another way" feature in case your device is lost, stolen, or replaced. Users who do not set up a second option will need to call the ITS Service Desk if replacing their device.
Open the MFA preferences page to be directed to the page shown below.
A. APP NOTIFICATION/CODE (we highly recommend using one of these methods)
1. On your mobile device, install the free Microsoft Authenticator app from the App Store (iOS) or Google Play Store (Android), then select Next.
2. The page below will be displayed.
3. Open the Microsoft Authenticator app on your mobile device. Select Allow to receive notifications.
4. Select the plus sign (top right), or select Add account.
5. Select the Work or school account option.
6. The QR code scanner will launch within the app. The first time you open the app, select OK/ALLOW to use your mobile device's camera to scan the QR code.
7. Your mobile device's screen will look similar to the screen shown below.
8. On your computer, select Next. A page similar to the example shown below will be displayed. Use your mobile device to scan the personalized QR code displayed on your computer screen, then select Next.
9. Once the QR code is scanned, approve the notification sent to your phone.
10. Select Next to finish the setup.
B. TEXT (to a mobile device that accepts text messages)
1. Select "I want to set up a different method" (in the lower left), then choose Phone from the drop-down menu.
- Select Text me a code
- Choose your country/region
- Enter your mobile phone number
- Select Next
2. Follow the instructions provided on the screen, then select Next.
3. select Done after the verification is complete.
C. PHONE CALL
Note: The Office phone option is not available at this time for authentication.
1. Select "I want to set up a different method" (in the lower left), then choose Phone from the drop-down menu.
- Select Call me
- Choose your country/region
- Enter your phone number (this can be a cellphone or landline)
- Select Next
2. Follow the instructions provided on the screen, then select Done after the verification is complete.
STEP 3 of 3 - MANAGE YOUR ACCOUNT
If you need to make changes to your MFA preferences in the future (e.g. add/change preferred options, add/remove a new phone number or device), simply return to the MFA preferences page.