
Network Printers
Network printers belong to individual departments, but are set up on the LUC network for ease of access. Network printers are labelled based on their location (building code and room number). They are accessible from any Windows computer that has been imaged by Loyola ITS using the steps below. If connecting from a macOS computer or a personal device, the printer may be added via IP address.
When connecting to a network printer, it is only added to the user profile that is currently logged into the computer. Each user on the computer has to add the printer themselves while they are logged in.
If you are adding a new/replacement printer, you must first remove the old printer. i.e., remove the old Ricoh copier/printers if you are installing one of the new Konica/Minolta copier/printers.
- Search on "Printers".
- Select "Printers & Scanners".
- Find the old printer in the list and select it.
- Click "Remove Device".
Adding New / Replacement Printers.
1. Open File Explorer: the manilla folder icon in your toolbar at the bottom. If you do not have File Explorer in your toolbar, search on "File Explorer" and click on the app to open it.
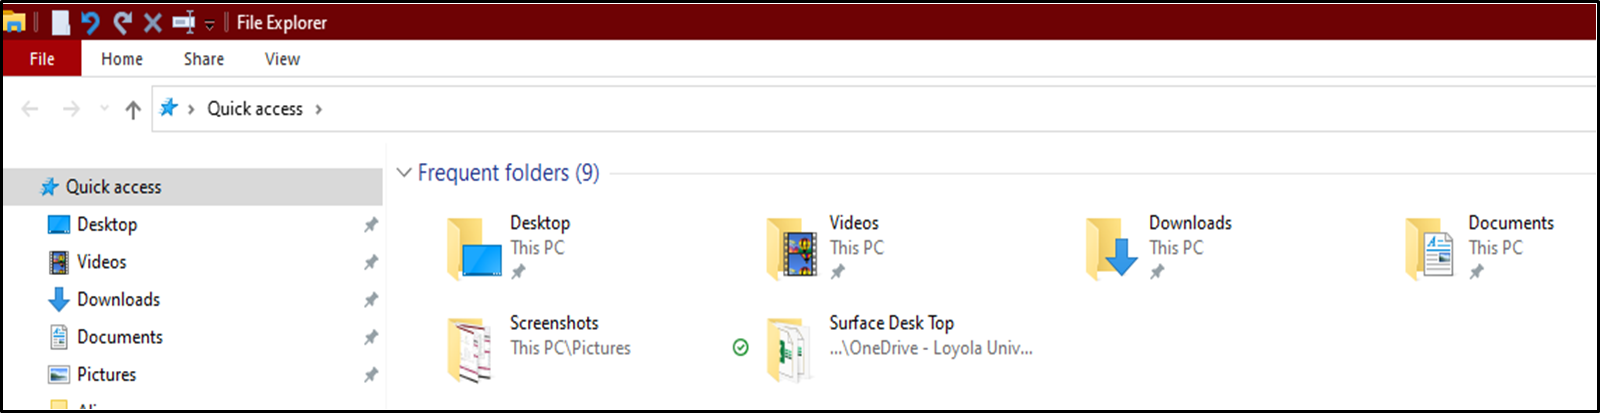
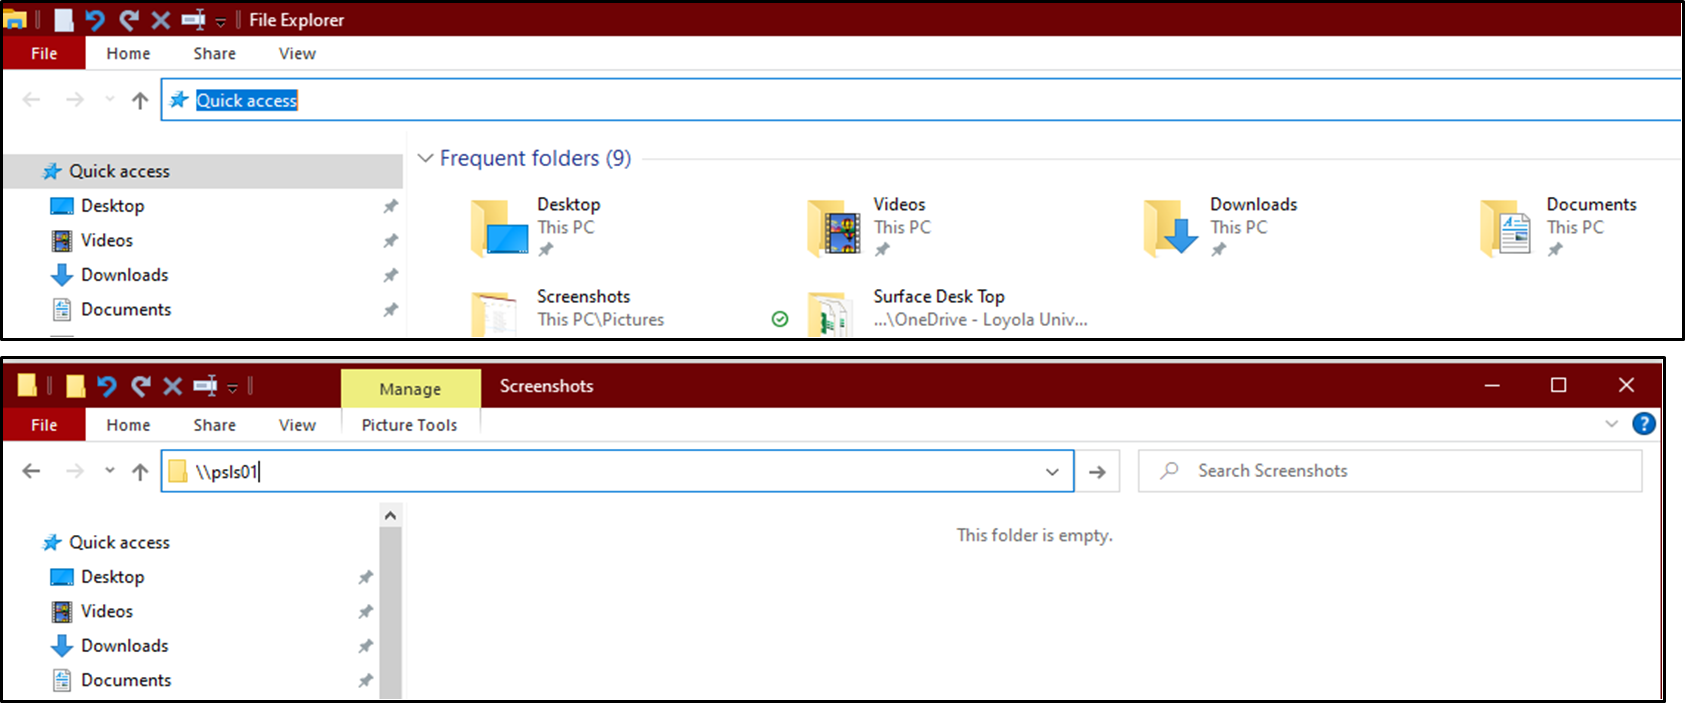
2. Click in the Quick Access bar and type the campus printer address below. See the following screenshots for the location of where to type the address.
- Lake Shore Campus: \\psls01
- Water Tower Campus: \\pswt01
- Health Science Campus: \\pshsd01
3. Hit enter. If your browser pops up, you did not enter the address into the correct place. You should see the full list of printers in File Explorer, not a browser.
4. To make it easier to view, click on "View" at the top and select "List". All printers will be shown as below in an alpha order list.
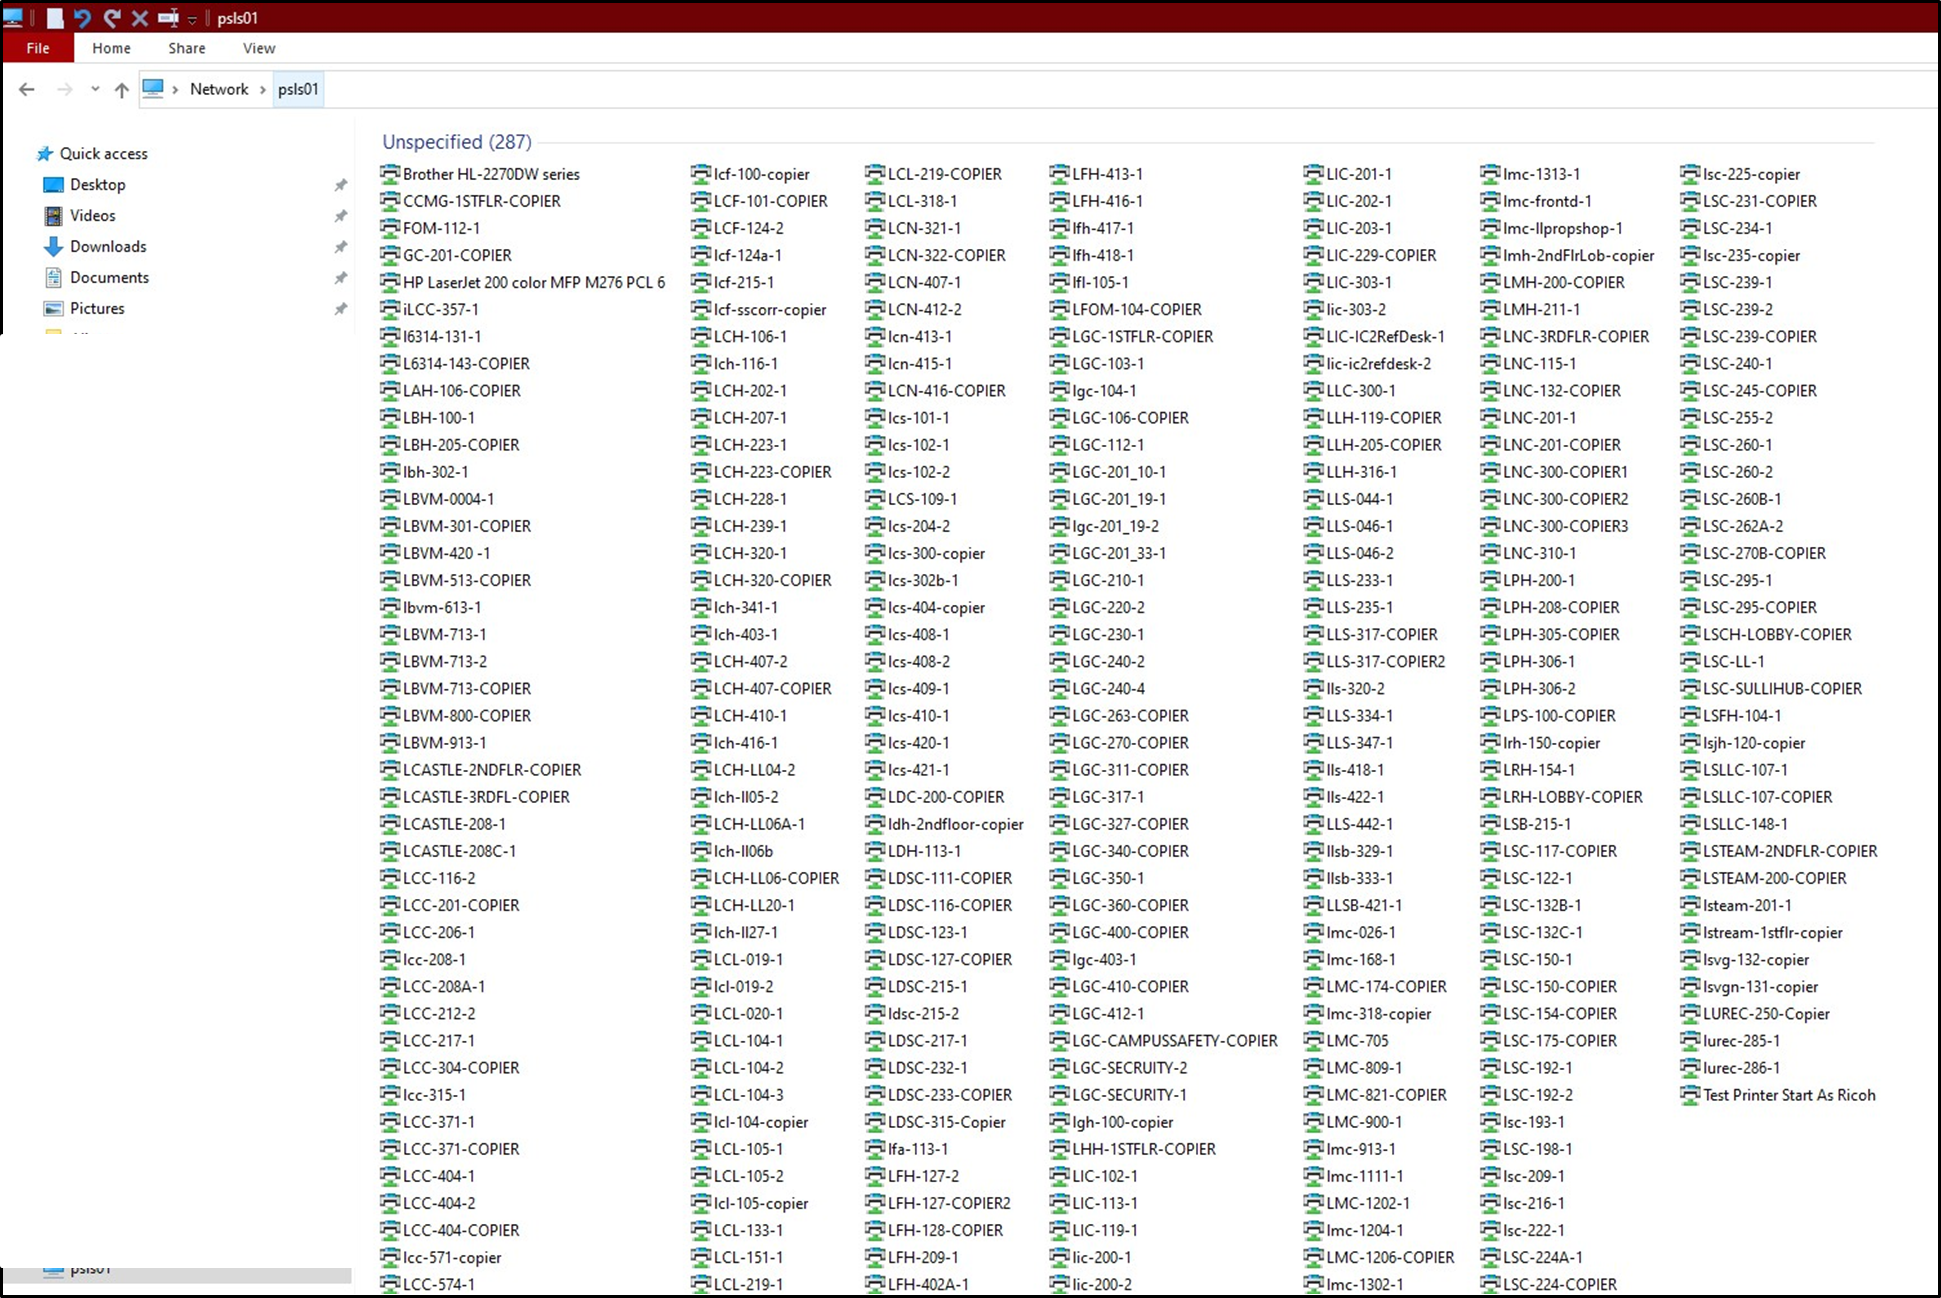
5. Double click on the printer you wish to connect to and allow / approve all prompts.
If you get prompted for Admin Access, complete the request form here: Admin Access to Workstation request form. Once you have been assigned admin access, follow the steps above.
Please note, students may not request admin access for themselves. A faculty, staff or supervisor will need to complete the request form on their behalf.
This printer is now ready to use. To set the printer as your default, search "Devices and Printers" from the Windows Start menu or select "Click here to open the printers folder on your machine" after the printer is successfully installed.

Right-click your chosen printer and select "Set as default".